
I write these posts using an instance of Ghost CMS which runs on a DigitalOcean droplet. The official 1-click droplet allowed me to set up my blog in just a matter of hours, and here's how.
Prerequisites
- You will need a credit card or a PayPal account in order to use the 1-click droplet (check current pricing here, the smallest droplet which runs for $5/month will do just fine unless you are planning to build a massive publication)
- A domain name, otherwise ghost will continue to show a template page as homepage. You can use Google Domains to find one. I bought mine from GoDaddy and then transferred it to CloudFlare where the DNS config panel is a little bit more tech-savvy-person-oriented.
- If you wish to connect to your droplet using SSH (recommended) you'll need to upload your key to DigitalOcean before creating your droplet.
- Some experience with the following technologies is preferable: DigitalOcean, Linux, NGINX and SSH.
Creating the droplet
In order to spin up our Ghost instance go to the create button in your DigitalOcean console and select the option to create a new Droplet.
Next, go to the Droplet marketplace by clicking on the Marketplace tab in the Create Droplets panel.
Search for and select the official Ghost Template.
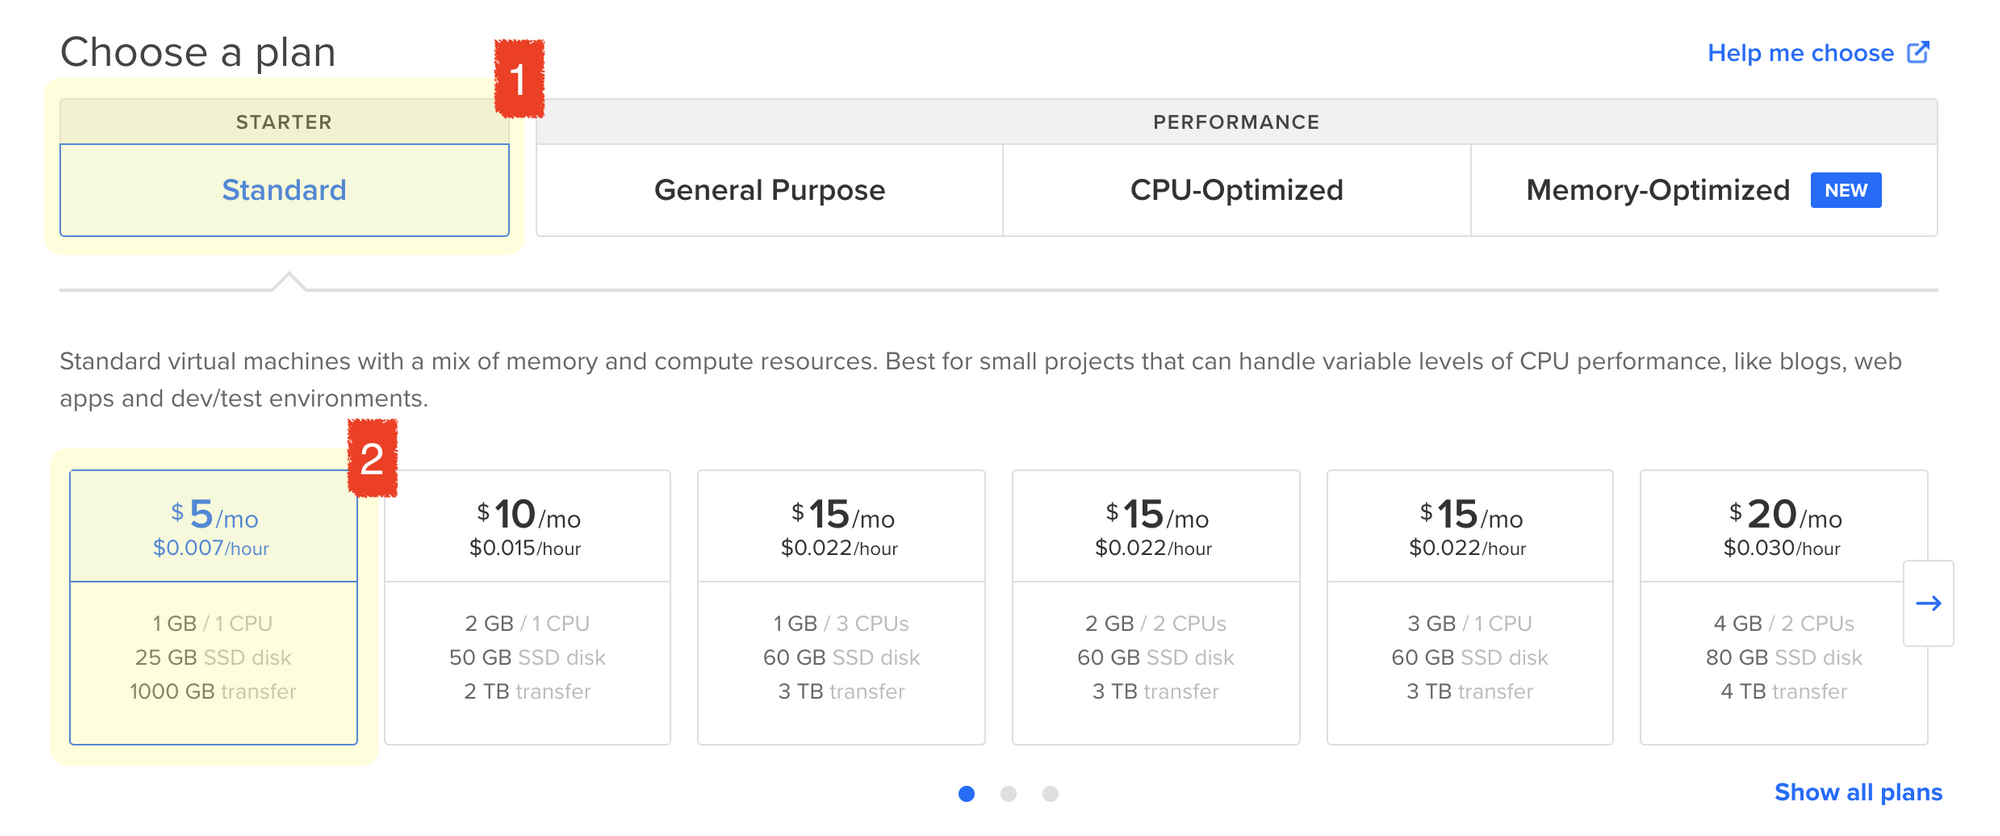
Select the plan that works for you, in this case the smallest standard droplet should do fine for small websites.
Next you can optionally set up block storage, I won't go into much detail about what this is but you can read more here.
For the final steps, chose a region and VPC and continue to the Authentication section.
Authentication
In order to connect to your droplet you're given two options: SSH or password. Of course, SSH is the recommended option here, select all the keys you want to be able to access your droplet and continue on to the next section.
Droplets that use SSH keys have password authentication disabled by default. This makes them secure against brute-force attacks.
Last steps
Lastly, you can choose a different hostname for your droplet, add tags select an existing project and optionally enable backups.
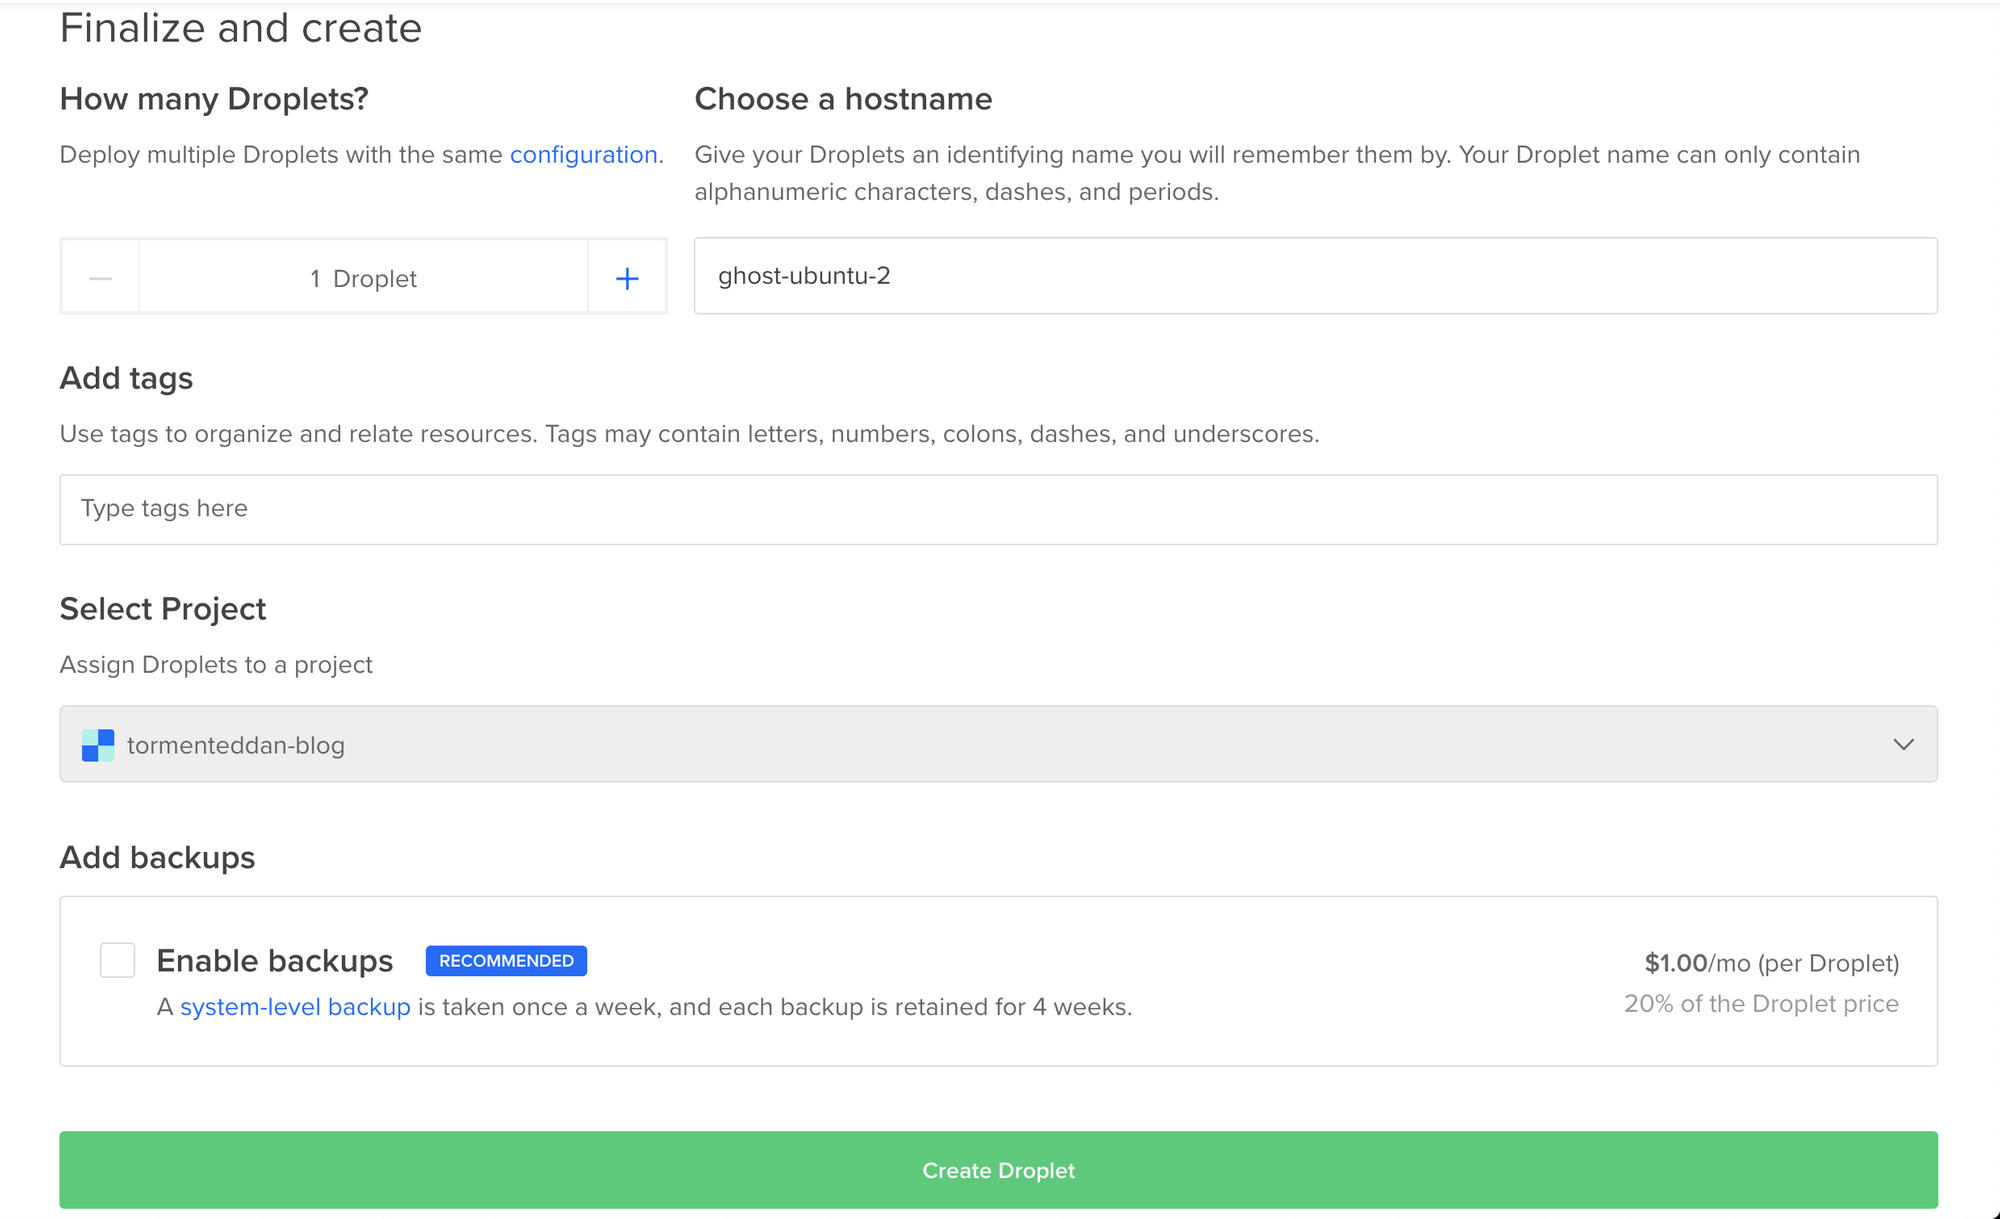
When you're happy with your configuration go ahead and create your droplet.
Configuring Ghost
Wait for you instance to be provisioned.
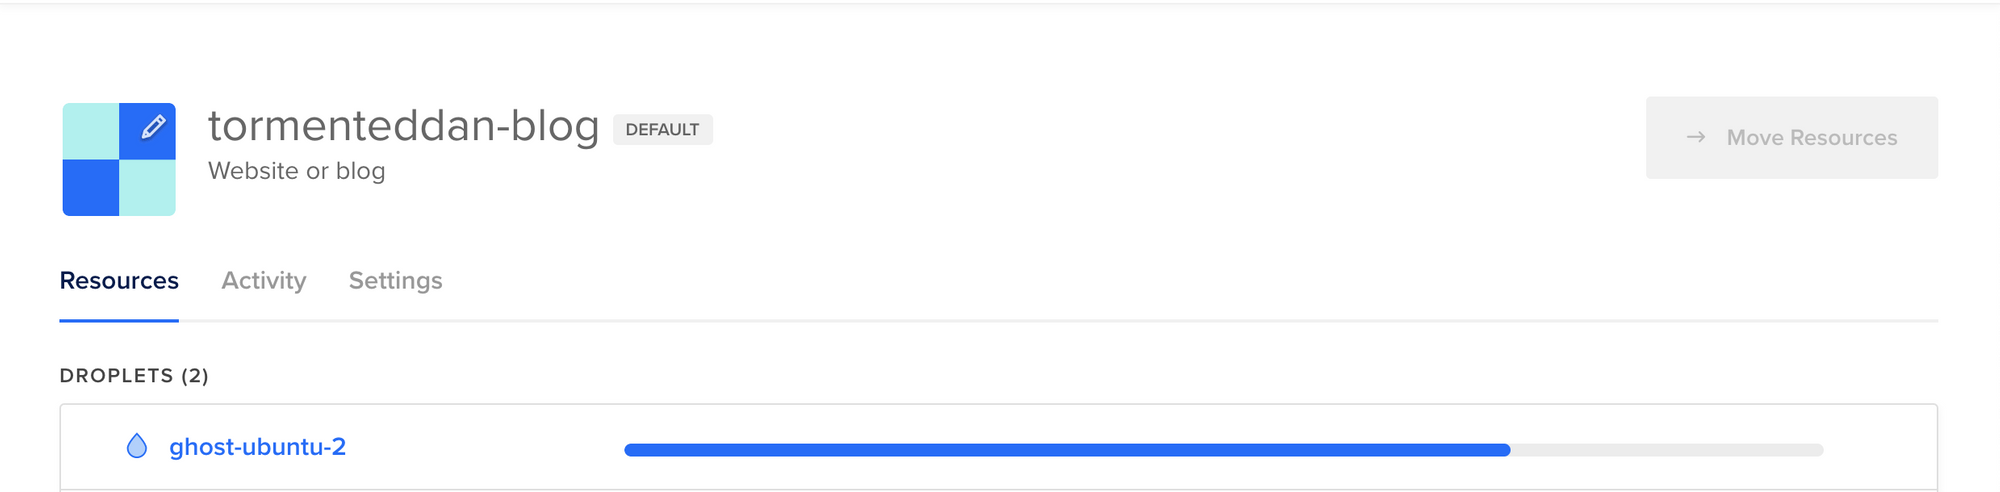
Once its provisioned, copy your droplet's public IP.

Visit that IP using your browser, you should see something like this.
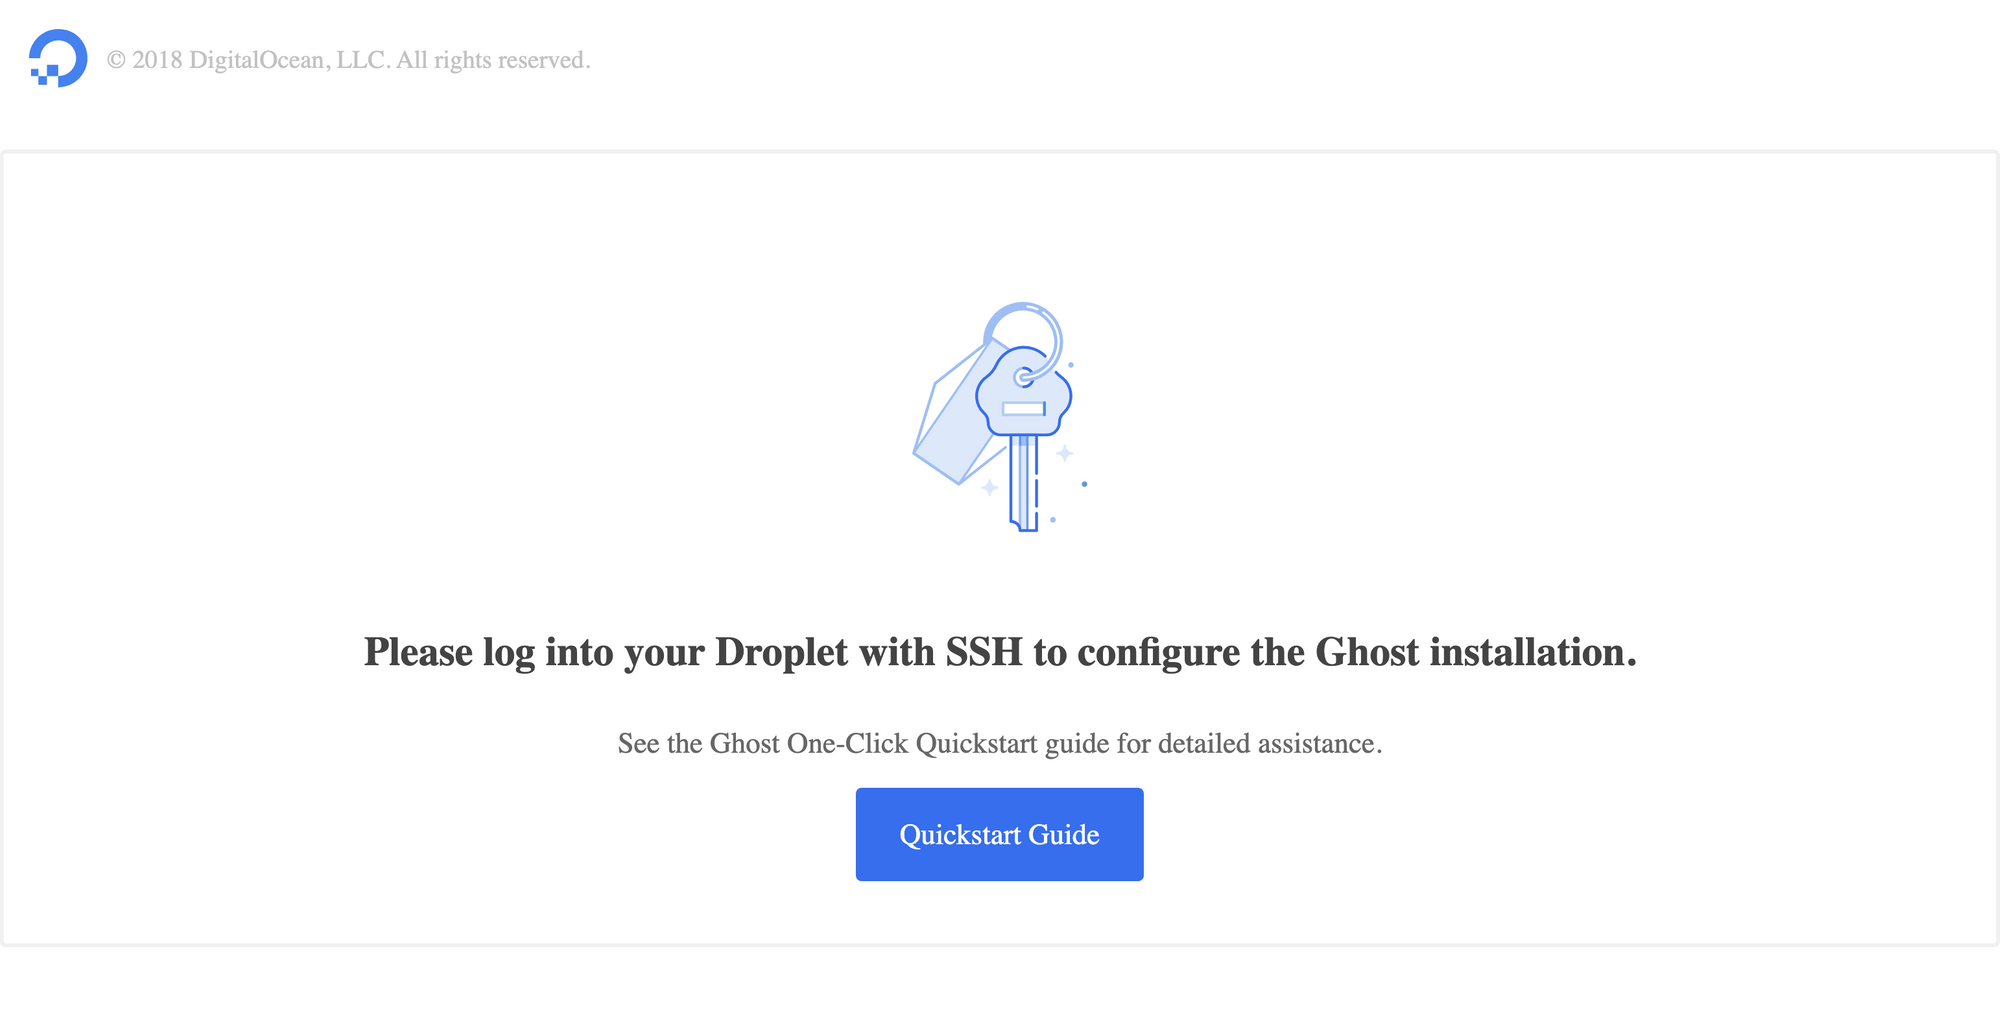
The rest of this section is based on the quickstart guide.
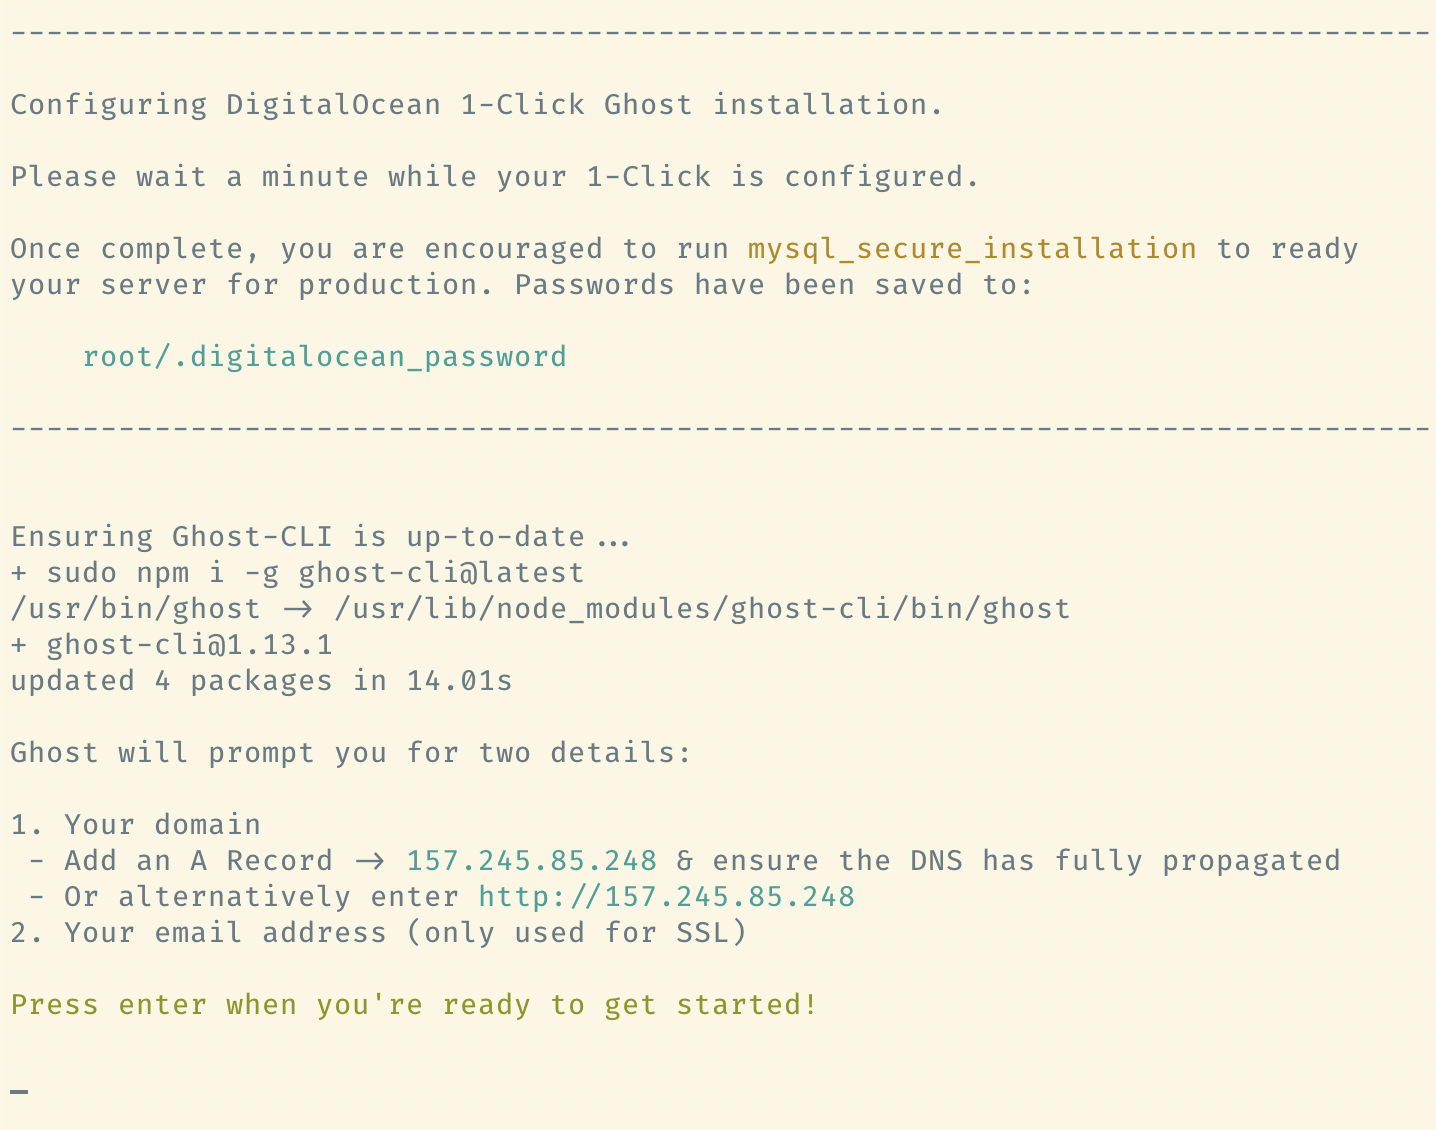
Connect to you droplet using SSH:
$ ssh root@<droplet_ip>When you first connect you instance will prompt you to configure it, go ahead and follow the installation prompts (remember to add the A record to your domain before starting).
As soon as you're done you'll have to configure your admin user, follow the link provided in the post-installation instructions: https://<your domain>/ghost.
It's crucial that you create your admin user as soon as possible, as anyone with your panel's URL will be able to create an admin account.
And that's it you can now start customizing your publication!
Conclusion
This is a great way to start your blog or publication on the cheap. Ghost's Pro subscription starts at $25/month, compare that to a mere $5/month on DigitalOcean with the added bonus of having total control over your Ghost installation.
This tutorial does not fully expand on some of the hurdles I had to overcome my first time around configuring my Ghost instance. In order to redirect traffic from my www.tormenteddan.com hostname internally, I had to further configure ghost and NGINX. Also, I just finished setting up AWS SES in order to add mailing capability to my domain. Let me know if you'd like me to write about these things in a future post.